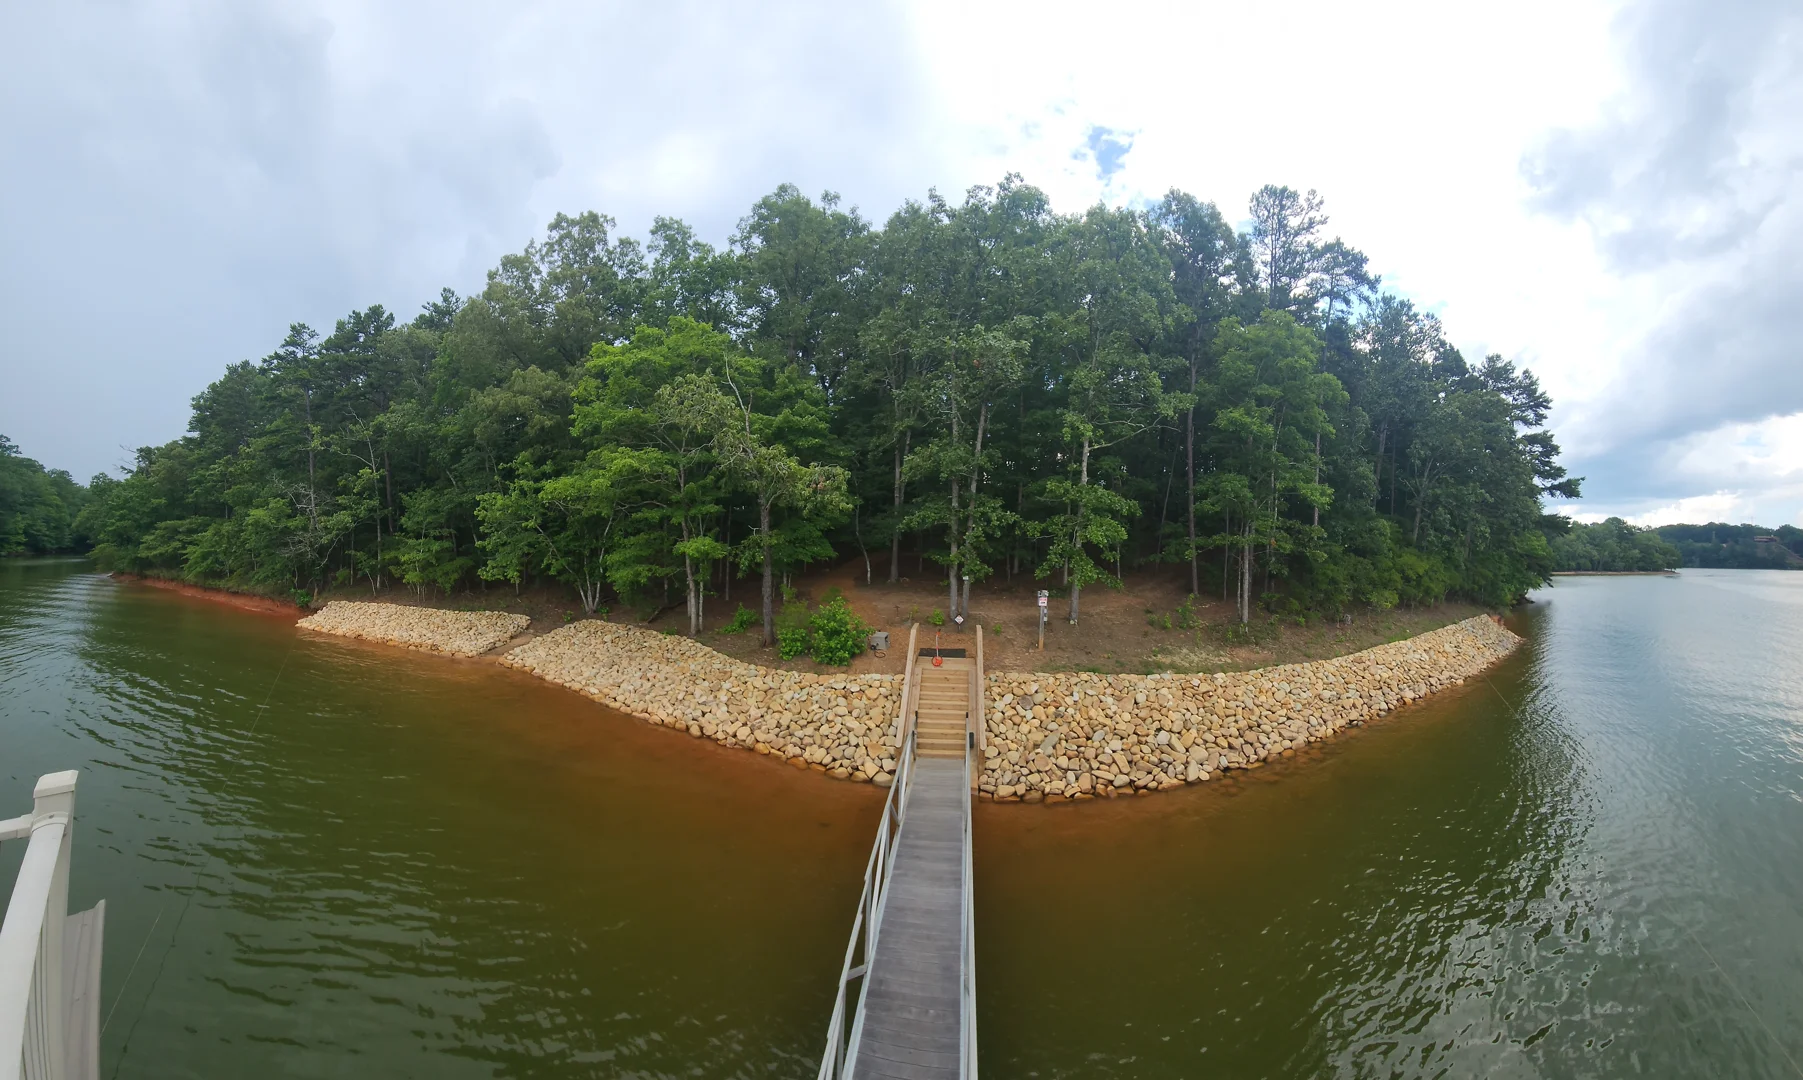
Riprap design is the engineering process of selecting, sizing, and placing large, angular stones to protect shorelines, streambanks, and slopes from erosion caused by wave action, flowing water, and runoff.
Here’s a quick overview of what good riprap design involves:
| Design Element | Key Requirement |
|---|---|
| Stone size (D50) | Based on flow velocity, wave height, and slope |
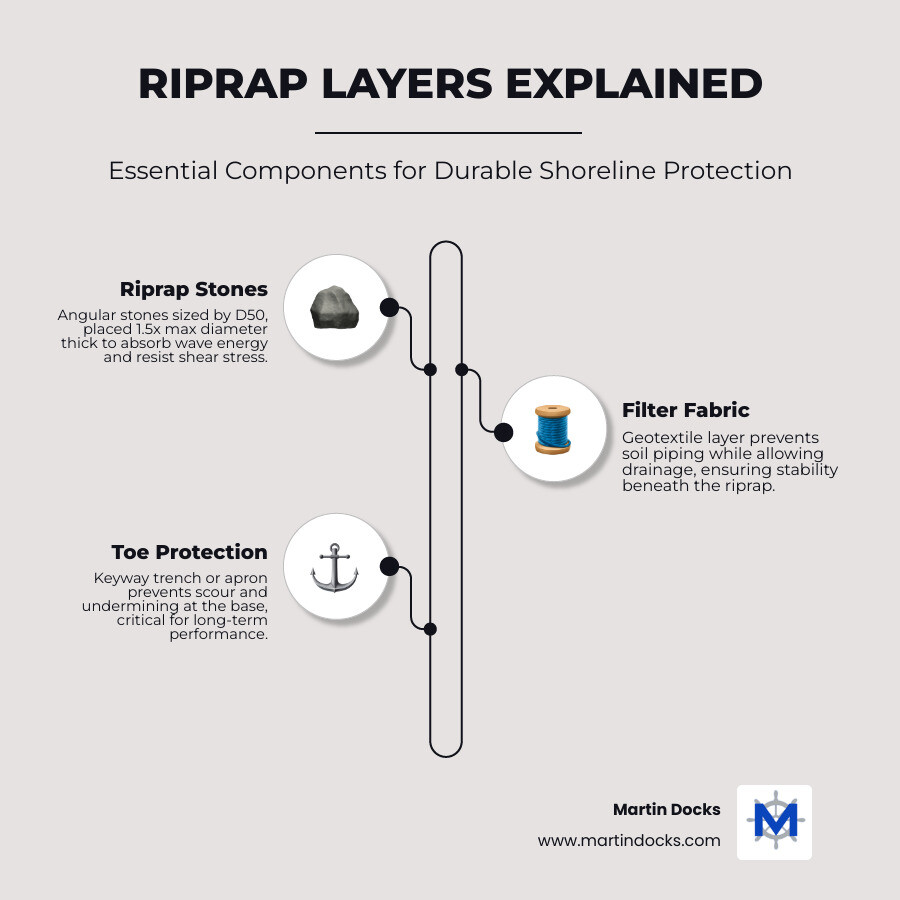
| Layer thickness | At least 1.5x the maximum stone diameter |
| Bank slope | No steeper than 2H:1V (2 horizontal : 1 vertical) |
| Filter layer | Geotextile fabric or gravel to prevent soil loss |
| Toe protection | Keyway trench or apron to prevent undermining |
| Freeboard | Typically 0.6 m (2 ft) above design water level |
If you own waterfront property on a lake like Lake Lanier, you’ve probably seen what happens without proper protection. Boat wakes, fluctuating water levels, and storm runoff quietly eat away at unprotected banks — year after year — until you’re left with collapsed slopes, exposed roots, and a shrinking shoreline.
Riprap is one of the most widely used and reliable solutions for this problem. It works by absorbing and deflecting wave energy, armoring the soil surface, and allowing water to drain freely without washing soil away underneath.
But riprap only works when it’s designed correctly. The wrong stone size, a missing filter layer, or a toe that isn’t protected can cause the whole installation to fail — often quickly and expensively.
This guide walks you through everything you need to know: from stone sizing and gradation to construction practices, filter layers, and maintenance.
At its heart, riprap design is about balance. We are balancing the destructive forces of water—whether it’s a rushing stream or a crashing wave from a passing wake—against the weight and friction of the stones. If the water’s force is greater than the stone’s resistance, the stone moves, and the bank begins to fail.
When we look at a project on Lake Lanier or Lake Chatuge, we have to consider several hydraulic factors.
The design process starts by analyzing three main factors:
One of the most common questions we get is, “How big do the rocks need to be?” In riprap design, we talk about the D50 median stone size. This doesn’t mean every rock is the same size; it means that 50% of the stones in the mix (by weight) are smaller than this diameter.
To find the right D50, we look at tractive force and shear stress. These are fancy ways of describing the “push” the water exerts on the rocks.
You might think that using perfectly uniform stones would look the best, but in riprap design, “well-graded” is the gold standard. A well-graded mix includes a variety of stone sizes. This is crucial because the smaller stones fill the gaps between the larger ones, creating a dense, interlocking mat.
This interlocking action is what gives riprap its “self-healing” property. If a single stone settles or shifts, the surrounding stones naturally adjust to fill the void, maintaining the integrity of the barrier. A good rule of thumb for the uniformity ratio is keeping the D85/D15 ratio around 2.0. This ensures the mix isn’t too uniform (which allows water to whistle through the gaps) or too varied (which can lead to the smaller stones washing away).
The angle of your bank is perhaps the most critical physical constraint. For most dumped riprap installations, the design slope should not be steeper than 2H:1V (two feet of horizontal distance for every one foot of vertical rise). If you go steeper than this, gravity starts to work against you, and the stones are much more likely to slump or slide down the bank.
We also have to consider the longitudinal extent—how far up and down the shoreline the protection needs to go—and the freeboard requirements. This accounts for wave run-up, debris, and those unexpected high-water events that characterize our local lakes.
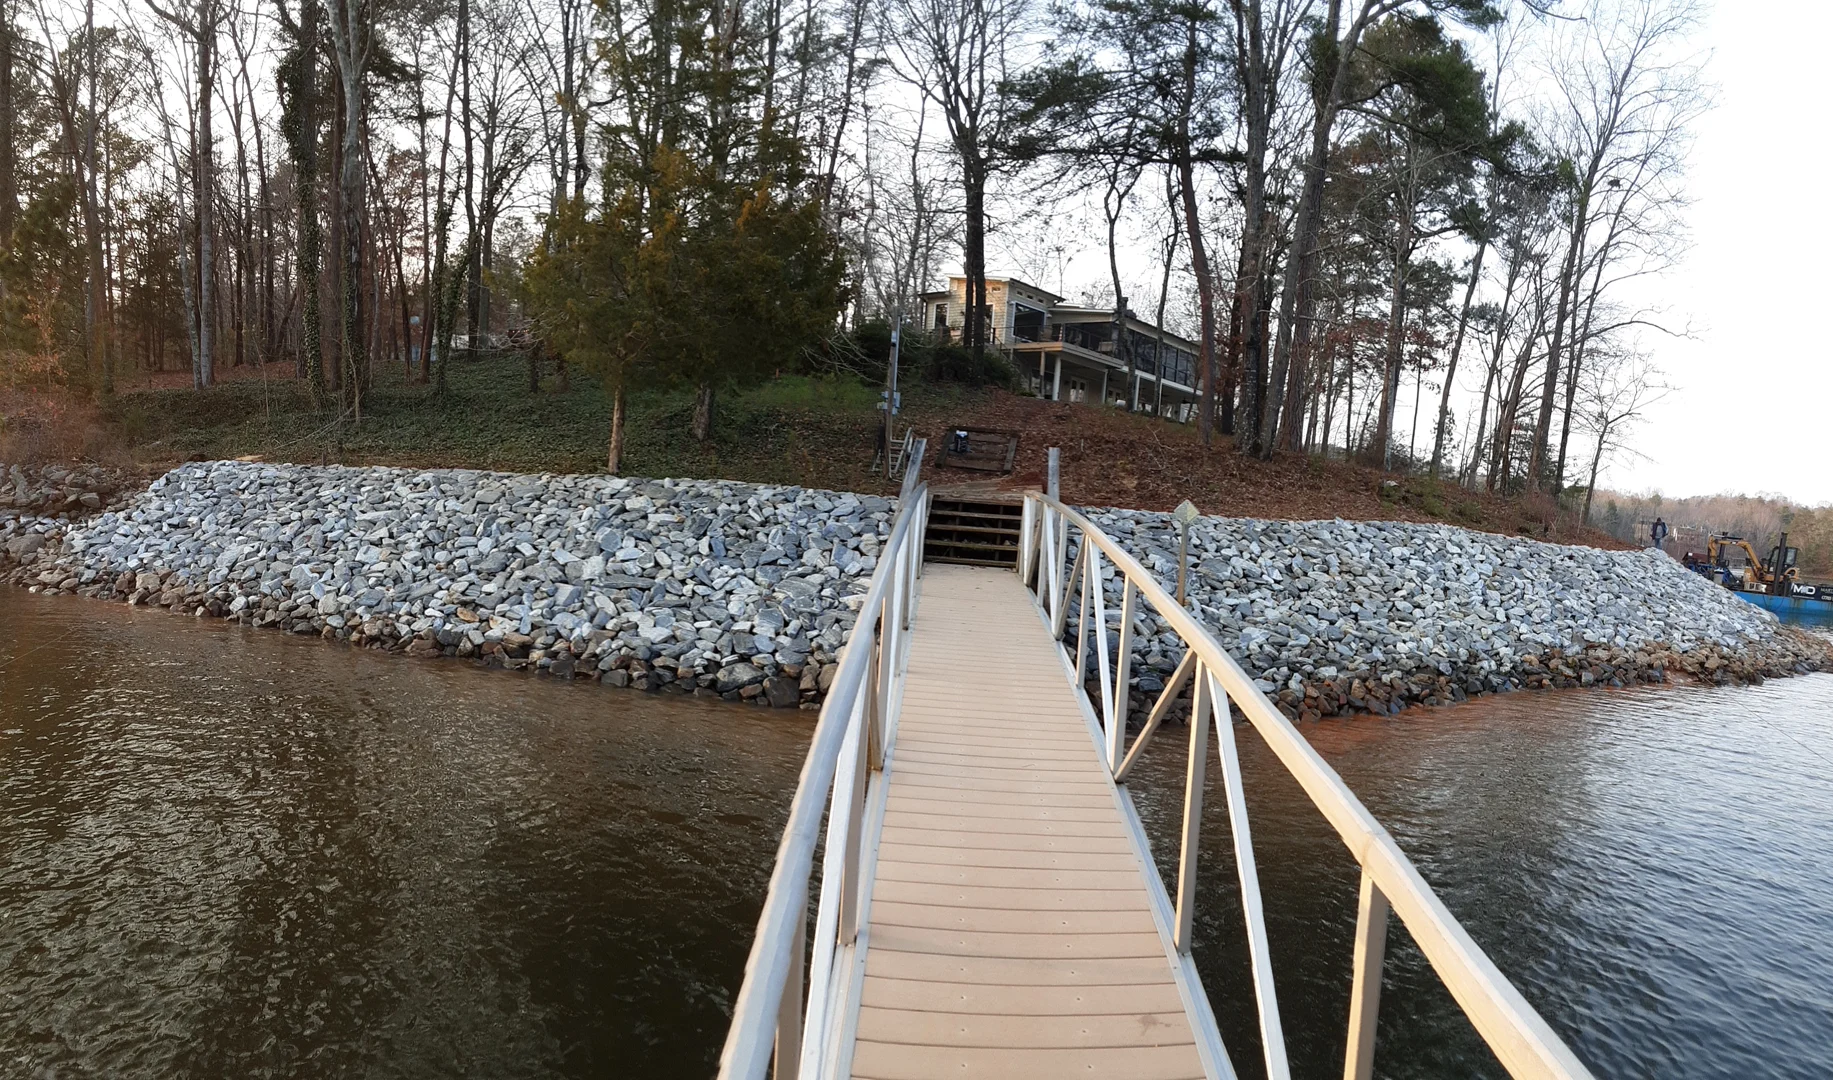
Not all rocks are created equal. When we specify materials for riprap design, we aren’t just looking for “heavy things.” We need stones that can survive the elements for decades.
In North Georgia, we have to deal with the freeze-thaw cycle. If a rock is porous and absorbs water, that water will expand when it freezes, eventually cracking the stone into useless rubble. We look for stones with:
Granite is our go-to material in the Gainesville and Hiawassee areas. It’s incredibly hard, heavy, and has the jagged, angular shape required for interlocking stability. Avoid rounded river rocks for high-energy areas; while they look nice, they tend to roll like marbles when hit by heavy waves.
This is the most overlooked part of riprap design, but arguably the most important. If you place heavy rocks directly onto red clay or sandy soil, the water will eventually suck the soil out through the cracks between the rocks. This is called soil piping.
To prevent this, we install a filter layer. There are two main types:
Without a filter, the rocks will eventually sink into the mud, and the bank will collapse behind them. If you are planning a project that involves more than just a simple bank—like a path to the water—you might want to check out More info about riprap stair installation to see how we integrate access with protection.
Once the riprap design is finalized, it’s time to move some dirt. Proper construction is what separates a professional job from a weekend DIY project that washes away in the first storm.
We start by clearing the area of large debris, stumps, and loose brush. The subgrade is then excavated and compacted. But the “secret sauce” of a stable revetment is the toe protection.
We dig a keyway trench at the very bottom of the slope, where the land meets the lake bed. We fill this trench with the largest stones in the mix. This acts as an anchor, preventing the entire wall of rock from sliding down into the lake (a failure known as a translational slide) and protecting against toe scour caused by underwater currents.
When it comes to putting the rocks in place, we prefer bucket placement over end-dumping. If you just dump a truckload of rocks down a hill, the big ones roll to the bottom and the small ones stay at the top. This is called segregation, and it ruins your gradation.
Using an excavator with a hydraulic “thumb” allows us to place the stones precisely, ensuring the thickness is consistent. We start at the bottom (the toe) and work our way up. We also take care not to drop the rocks from more than a foot or two, especially if we’re placing them on geotextile fabric, to avoid punctures.
While we’re on-site, we often find that customers need other repairs to their waterfront infrastructure. If your dock has taken a beating from the same waves that eroded your bank, you can find More info about dock repair services to get everything back in tip-top shape.
Even the best-laid plans can go awry if you don’t account for how riprap fails. Understanding these failure modes helps us build better systems from the start.
You can’t just start dumping rocks into Lake Lanier or Lake Chatuge. Most riprap projects require permits from the U.S. Army Corps of Engineers and often the Department of Natural Resources (DNR).
These agencies look at:
Navigating these regulations is a big part of what we do. Getting caught without a permit can lead to massive fines and a requirement to remove all the work you just paid for.
Riprap is “low maintenance,” not “no maintenance.” We recommend an annual inspection and a quick check after every major storm or flood event.
Look for:
Almost always. Unless you are placing riprap over a very specific type of well-graded gravelly soil that already acts as a natural filter, you need a geotextile. On the red clay banks common in Georgia and South Carolina, fabric is non-negotiable to prevent soil piping and the eventual “sinking” of your rocks.
Standard dumped riprap is generally limited to a 2H:1V slope. If your bank is steeper than that, you have to look at alternatives. These methods provide the structural stability that loose rock simply can’t offer on a cliff-like face.
Protecting your shoreline is an investment in your property’s future. A well-executed riprap design doesn’t just stop erosion; it preserves your land, protects the local water quality by reducing siltation, and can even add a rugged, natural beauty to your waterfront.
At Martin Docks, we’ve been serving the lakes of North Georgia and the surrounding regions since 1956. We understand the specific challenges of our local red clay, the power of Lake Lanier’s boat wakes, and the regulatory hurdles of the Army Corps. Whether you’re looking to armor a small cove or stabilize a major embankment, we bring generations of experience to every stone we place.
Ready to secure your shoreline? You can find More info about our shoreline and dock services and let us help you build something that lasts for decades to come. Don’t let your property wash away—give us a call and let’s get your shoreline “rock solid.”